Winter fishing is one of the most exciting and thrilling entertainments. But to make it successful and without losses, it is important to provide yourself with useful equipment. Today we will tell you how to make a durable, comfortable and roomy fisherman’s box. It will be made using innovative heat-insulating material, so it will not be cold to sit on, and it can also be used to protect equipment and batteries from the cold. You can also make convenient places for storing gear and tools inside it.
To make the box you will need:
- LOGICPIR MASTER slabs from TECHNONICOL;
- silicone glue;
- plywood sheet 12 or 10 mm thick;
- aluminum sheet;
- artificial leather;
- construction knife;
- marker;
- ruler;
- screwdriver;
- self-tapping screws.
Step 1. Cut out the box parts.
The PIR material is dense enough to support the weight of an adult sitting on the box. In addition, the slabs are made with a foil lining, which will help create a thermos effect in the box.
To make a fishing box, you will need 6 parts for each of the two boxes. We cut the parts of any size using a construction knife from a PIR plate. Then we connect the parts using silicone glue to get a rectangle.
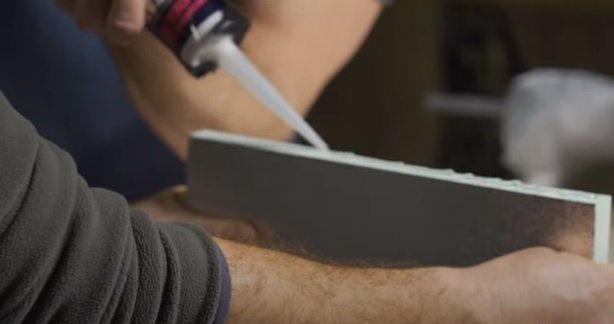
And we additionally strengthen them with self-tapping screws.
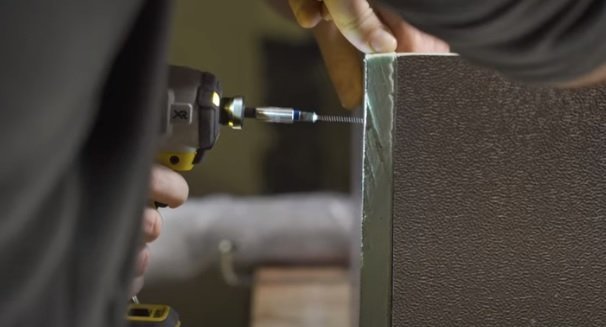
Then we insert a partition inside the box to create two sections, and secure it with screws.
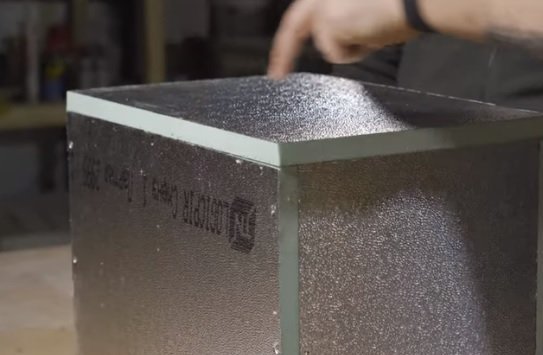
Step 2. Cut out the box lid.
From the remains of the PIR plate we cut out the parts for the lid. We should get a small box the size of the upper part of the main box.

This will be the lid. We also glue the parts together and additionally strengthen them with screws.
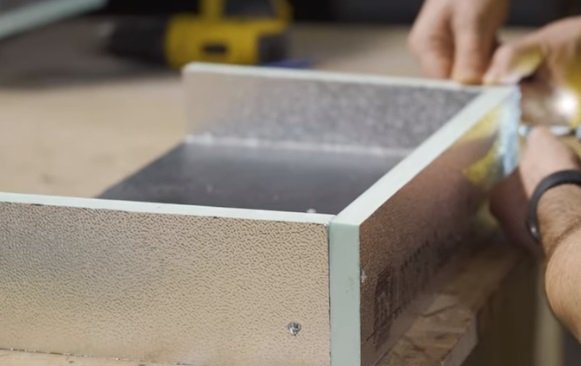
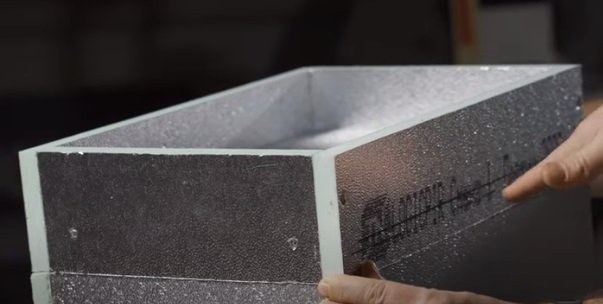
If desired, you can insert a partition inside the lid and add more useful space to the box.
Step 3. We make a “seat” on the lid of the box.
To make the box comfortable, you need to make a place to sit on the top of the lid. To do this, cut a piece of plywood to the size of the lid and glue it to the PIR.
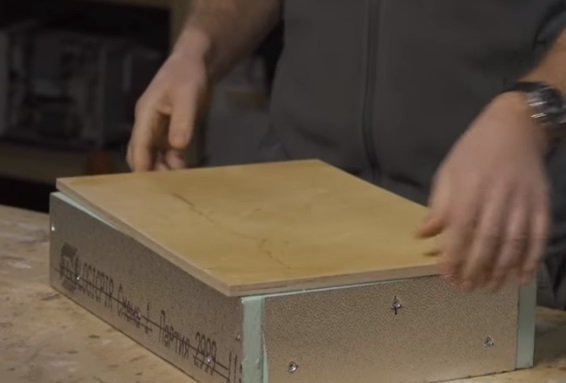
Step 4. Strengthen the bottom of the box.
To make the box strong but lightweight, its bottom should be additionally reinforced with an aluminum sheet. Cut out a part to the size of the box bottom and secure it with silicone glue.
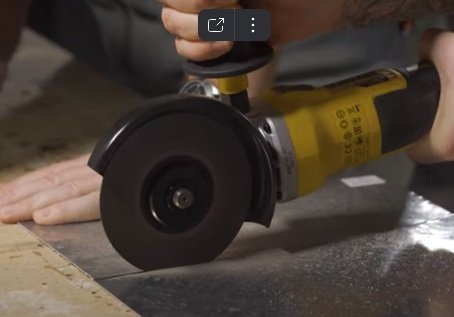
Step 5. Sheathing the box.
To make the box more visually attractive and protect it from water, we cover it with artificial leather. To do this, we cut out the parts according to the size of the box. We recommend using adhesive-based material to attach it to the box faster and more easily.
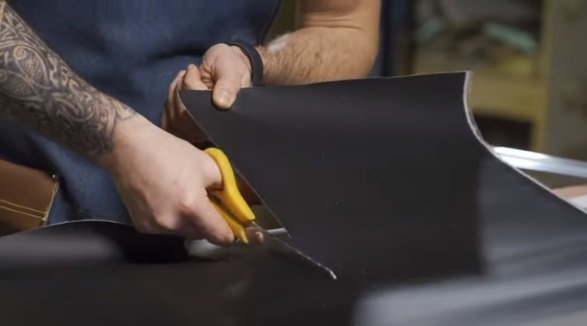
Lifehack: to make gluing easier, you can lay out a pre-cut leather piece on a flat surface and start wrapping the box in it, and then simply trim off the excess.
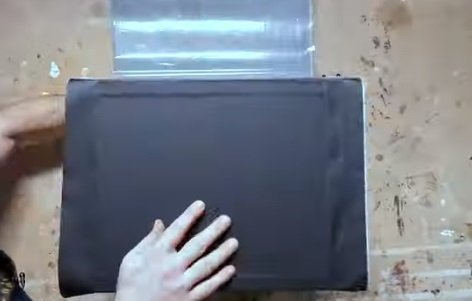
To further strengthen the joints of the material, you can attach an aluminum corner to the ends of the box.
The seat of the lid can be covered with leftover material or a piece of genuine leather.
Step 6. Installing the fittings
We secure the lid with hinges.
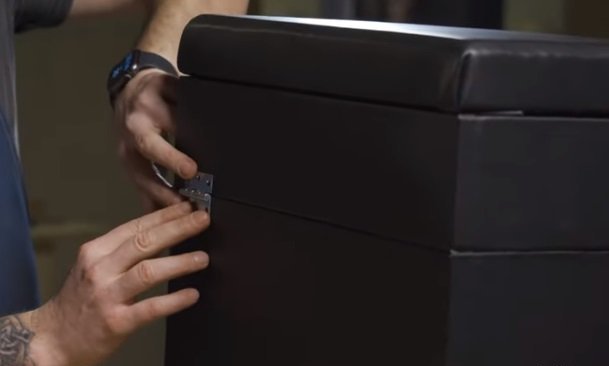
To avoid damaging the PIR plate, we install the hinges using bolts and nuts, and attach an aluminum gasket to the inside of the lid.
Additionally, we install locks and a belt so that the box closes tightly and is easy to carry.

The fishing box is ready!