Probably, each of us at least once had to think about how to change the interior of your home or apartment. And perhaps one of the most affordable and interesting ways to do this is to paint the walls and ceiling yourself. After all, there is something magical about this process – you can bring your ideas to life, create an atmosphere and change the space around you.
However, I am well aware that at first there may be a feeling of uncertainty and some concerns: “Will I be able to do this?”, ” Will it look professional?”, ” How much time and materials will I need?Don’t worry, I also had such doubts. But I decided to start painting the walls and ceiling myself, and I can safely say that it was one of the most enjoyable and successful repair tasks I’ve ever done.

In this article, I will share with you my personal best practices, tips and step-by-step guide that will help you start painting walls and ceilings yourself. Together, we will figure out how to properly prepare for the process, choose the necessary materials and achieve a professional look for your interior. This will not only save you money, but also give you the opportunity to feel proud of your achievements.
So let’s get right down to business and start an exciting journey into the world of self-painting walls and ceilings !
What you need to know when choosing paint.
Choosing paint for self-painting walls and ceilings can be a daunting task, especially if you don’t have any experience in this area. When I was faced with a choice, I asked: what kind of paint will be best suited for a particular surface and what might be the pitfalls. In the course of my research, I learned some useful tips that I would like to share with you.
Before you go to the building materials store, you need to study the different types of paints and their features. There are options such as acrylic, latex, oil and special paints for certain surfaces. It is important to choose a paint that is suitable for a particular type of surface to achieve an optimal result.
For indoor walls , it is better to use acrylic or latex paint, as they have a good covering ability, dry quickly and do not have an unpleasant smell. For the ceiling, I chose a paint with less glare to avoid light reflection and create a matte finish.
In the process of choosing a paint, I encountered some pitfalls that are worth knowing about. Some paints may require pre-priming the surface, especially if it is a new wall or a surface with a non-uniform coating. You should also pay attention to the manufacturer’s recommendations regarding the number of layers of paint to achieve the desired color and coating density.
It is also important to pay attention to the paint composition, especially if you are allergic or sensitive to odors. Latex and acrylic paints usually contain less harmful substances and unpleasant odors, so they are a safer and more comfortable choice for indoor applications.
Of course, it’s no secret, but still: when choosing paint, you should pay attention to the brand’s reputation, which determines a particular level of quality. Experienced repairmen and friends shared their recommendations, and I took their opinion into account when choosing. Not without hints on the forum of this project, which I advise you to visit. There I learned that reliable brands usually offer more resistant paints with better coating capacity, which ultimately ensures a long-lasting and high-quality coating, although the differences in composition with cheaper analogues did not seem so significant at first.
Select tools.
One of the key aspects of self – painting walls and ceilings is the right choice of brushes and rollers. When I started looking for the right tools for the job, I realized that there was a wide selection of brushes and rollers, each designed for specific tasks and materials. Let’s take a look at some of the differences and recommendations that I learned while doing this job.
1. brushes. Brushes play an important role in achieving a clear and accurate result. They come in different sizes and are made from different materials, such as natural pile or synthetic.
- Natural pile (usually made from natural hair or bristles), used for working with oil paints or solvent-based paints. It allows you to hold the paint well and create a smooth finish.
- Synthetic pile (usually made of nylon or polyester) is well suited for working with water-dispersion paints, such as acrylic or latex. It allows you to distribute the paint evenly and is easy to clean after use.
I chose brushes with different sizes and types of lint, depending on the specific tasks. For example, for precise work and painting corners, I used brushes with a soft natural pile of small size. For painting large surfaces, I preferred larger synthetic brushes, because they allowed the paint to be applied faster and provided even coverage.
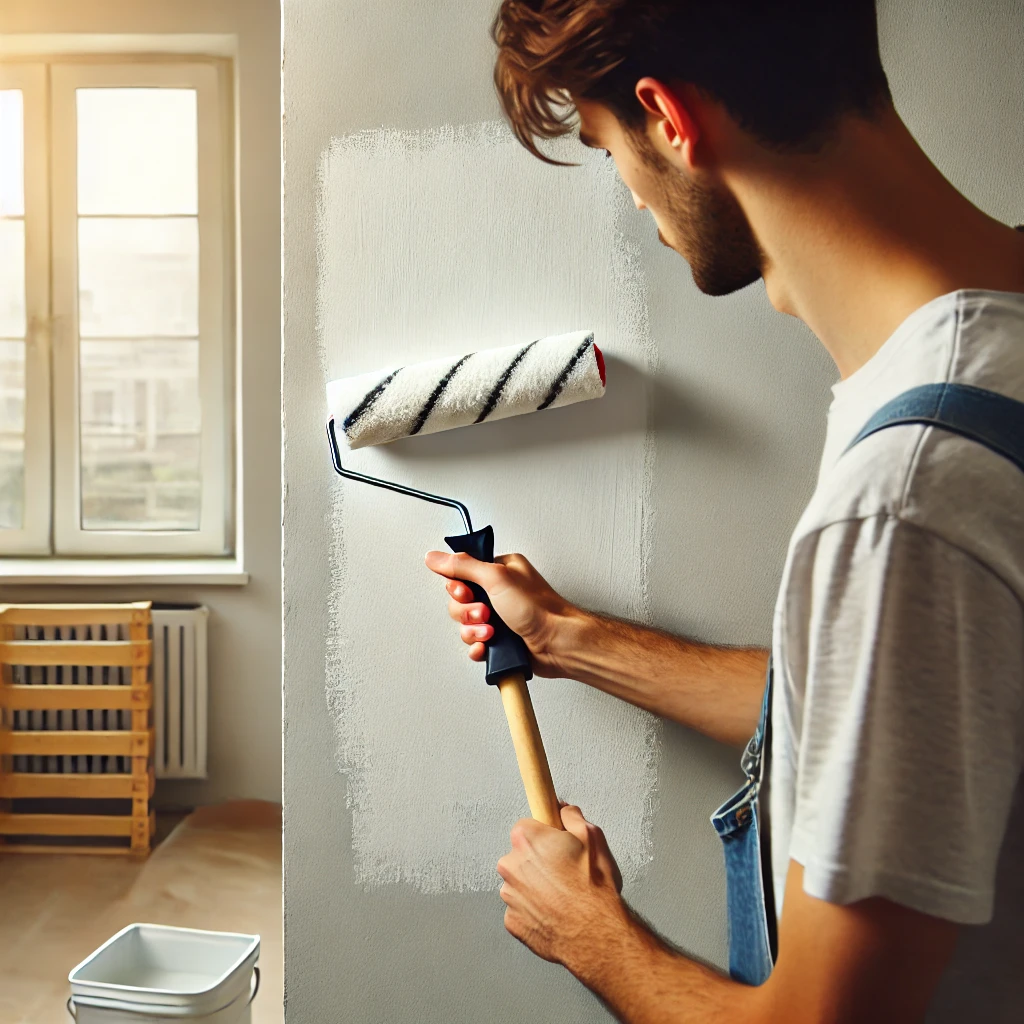
2. Rollers. Rollers also play an important role in painting walls and ceilings. They can be made from a variety of materials, such as fiber, microfiber, or polyurethane foam.
- Fiber Rollers are widely used for working with various types of paints and provide a uniform coating. They hold the paint well and allow you to quickly paint large surfaces.
- Microfiber rollers are also well suited for working with water-dispersion paints. They have the ability to evenly distribute the paint and leave a smooth surface.
- Polyurethane foam rollers are often used for working with solvent-based lacquers or paints. They provide a smooth and flawless finish, while also making it easy to work on textured surfaces.
Pitfalls I encountered included choosing the wrong roller for a particular surface or type of paint. For example, using a short-pile roller on rough surfaces may result in uneven coverage or roller impressions. It is important to choose a roller that is suitable for the specific surface and type of paint, as mentioned earlier, to achieve the desired result.
In addition to brushes and rollers, there are several related accessories that can greatly facilitate the process of self-painting walls and ceilings. In the course of my experience, I have found that these accessories are real saviours, allowing you to save time and simplify the care of tools. Here are a few things to keep in mind.
Roller Bath: The roller bath is a handy accessory that helps you spread the paint evenly over the roller and avoid excessive soaking or dripping. It usually has a deep shape and ribs to remove excess paint during the lifting of the roller. This allows you to save paint and get a more uniform coating.
Life hack: If you don’t want to buy a separate tub, you can use a large plastic lid from a container or bucket as an alternative. Just pour the paint on the surface of the lid and work with the roller directly in this “bath”. Of course, this is not so convenient, but for lack of a better one, it will come in handy.
Solvents for cleaning brushes: at the end of the work, you will have to clean the brushes from the paint. Brush cleaning solvents are an essential tool that helps remove paint residues from brushes and keep them in good condition for future use. Usually these are special solutions or liquids designed to dissolve the paint.
Film or protective paper: Protecting the surrounding surfaces from paint drips and splashes is an important part of the painting process. To do this, you can use a protective film or paper that can be fixed on the floor or on furniture. They prevent paint from getting on unwanted surfaces and will greatly facilitate further assembly. Such a film is sold in any hardware store.
Life hack: If you don’t have a special protective film, you can use regular food wrap to cover your furniture or floor. It adheres well to surfaces and prevents the penetration of paint.
Is there a difference in wall and ceiling painting?
Of course, there are such differences and they should be taken into account in order to achieve the best result. Here are a few key differences when painting walls and ceilings.
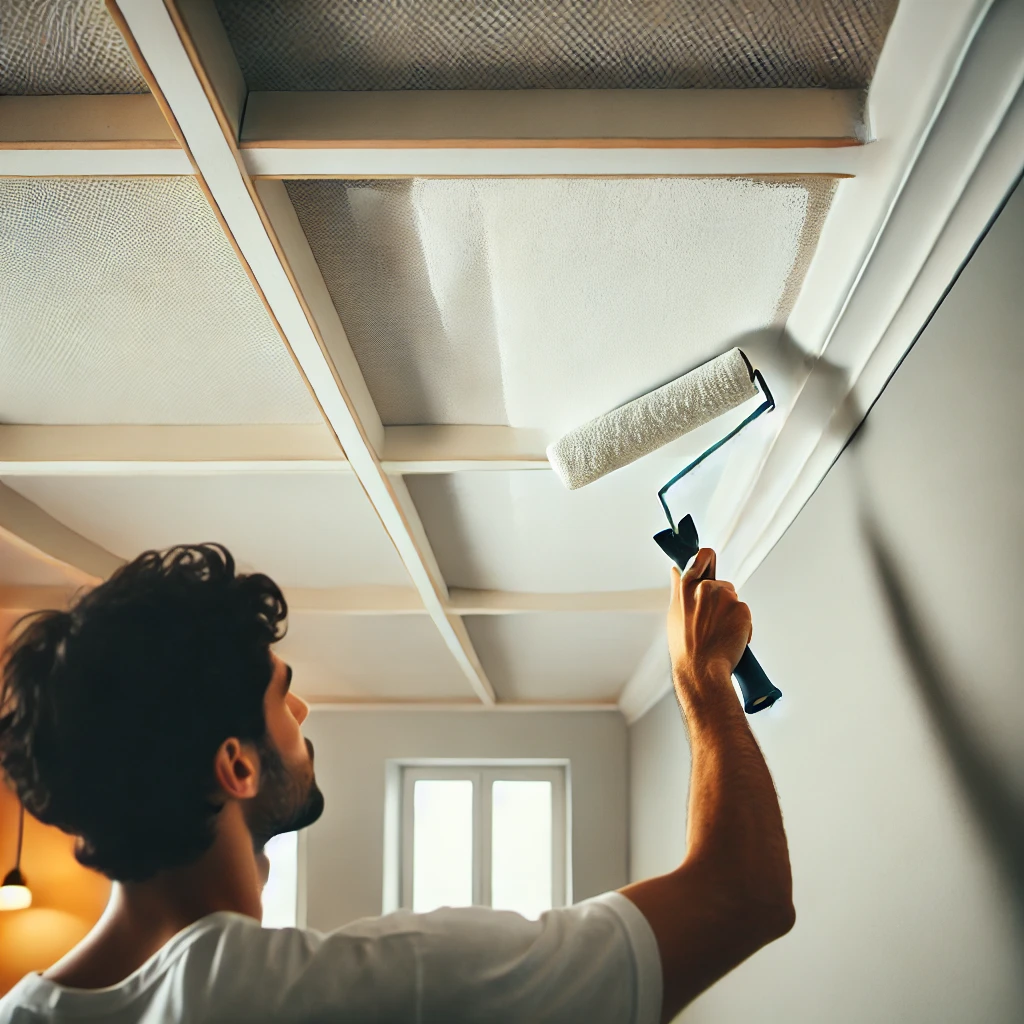
- Surface. Walls and ceilings have different types of surfaces, and this can affect the choice of materials and the technique of applying paint. Walls usually have a smoother surface and can be painted with a variety of tools, including a roller or brush. However, the ceiling often has a more complex texture or stucco finish, and a special roller or spray may be required to achieve a uniform finish.
- Physical limitations. Painting the ceiling can be a more time-consuming process, as working in the upper area may require the use of scaffolding, stairs, or other special means to access the surface. This may require more time and effort to complete the work, so it is important to be prepared for this aspect when painting the ceiling.
- Planning. When painting walls and ceilings, different layouts are also required. Wall painting can be done sequentially, working on one wall at a time, while ceiling painting may require a more organized approach, such as dividing the ceiling into sections and working on each section in turn.
- Technique of applying paint. Although the principles of applying paint may be similar for walls and ceilings, there are still some subtleties that should be considered. When painting the ceiling, it is important to pay attention to the correct technique to avoid droplets and uneven coating. Applying paint to walls can be a more straightforward process, but it’s still important to consider the surface features and use appropriate tools.
The dyeing process.
Here’s a step-by-step guide, based on my experience working independently, to help you get the job done effectively.
1. Preparation:
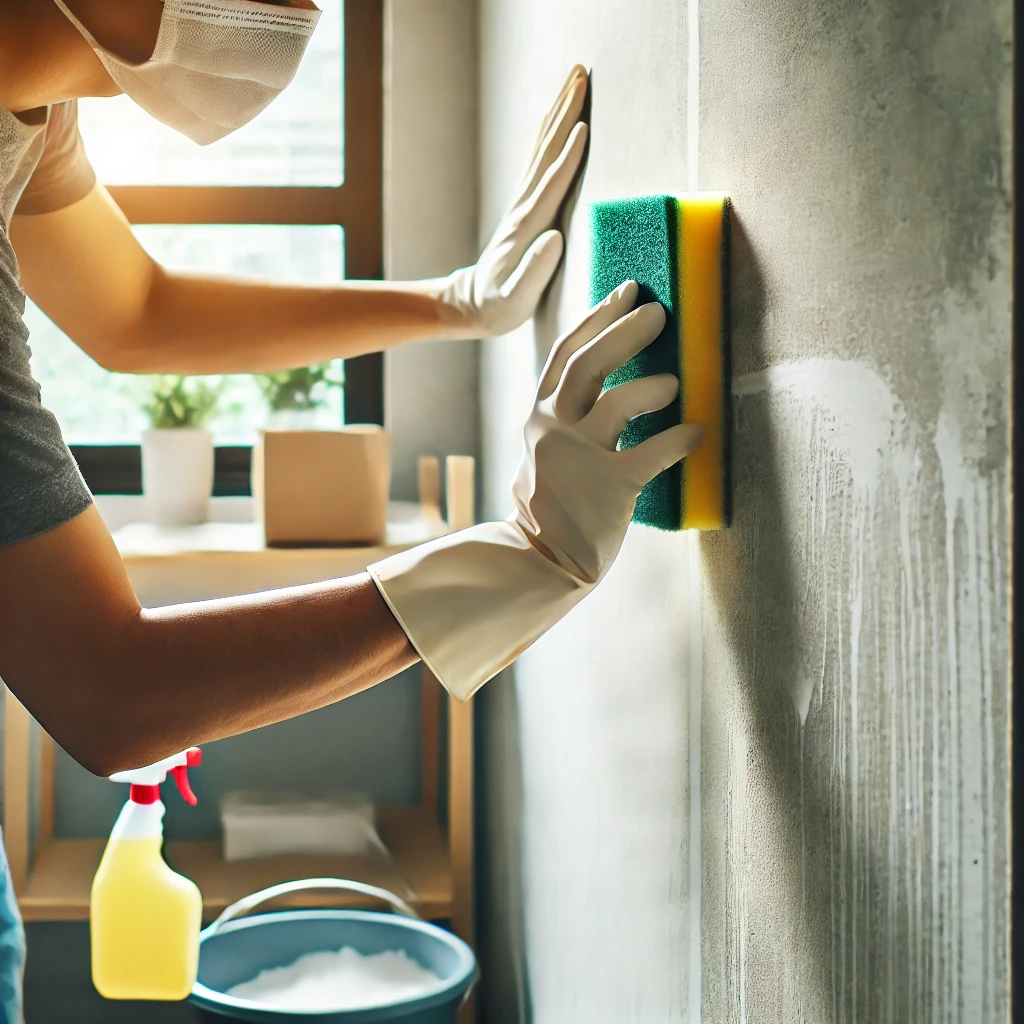
- Make sure that the surface of the walls and ceiling is ready for painting. Remove the wallpaper, cover up and sand any cracks and bumps, then wipe the surface with a dry cloth to remove dust and dirt. If this surface is not uniform, you should, as mentioned earlier, prime it with a suitable type of soil solution for paint, which is commercially available, both ready-to-use and in the form of concentrate. The main thing before this stage is to complete the following step.
- Protect the surrounding surfaces by covering the floor and furniture with the protective film or paper I mentioned earlier. Seal the sockets, switches, and other elements with masking tape.
2. Applying paint:
-
- Start at the edges and corners using a small brush. Gently apply paint to these areas, ensuring clear and even lines.
- Move on to painting large surfaces with a roller. Pour a small amount of paint into the tub or on the surface of the lid and wet the roller in the paint.
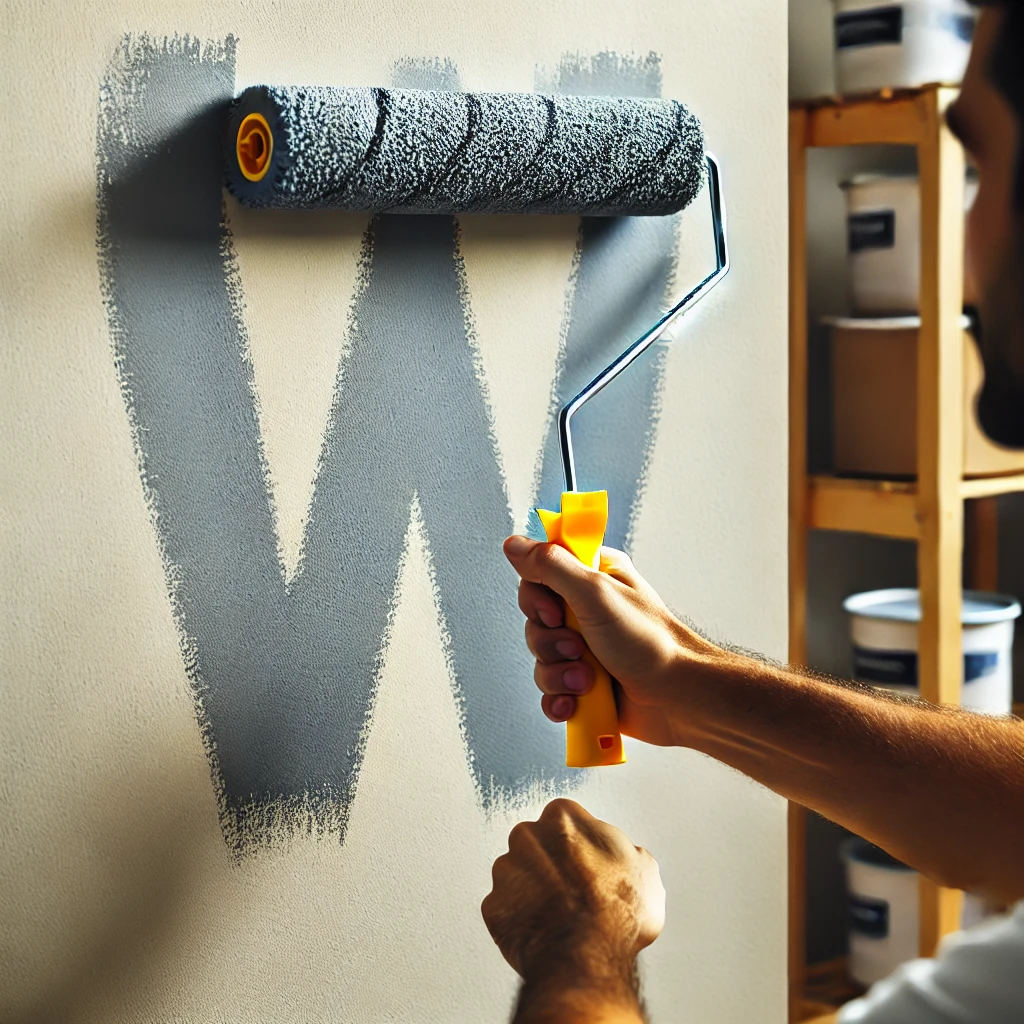
- Gradually spread the paint over the roller, moving it along the wall or ceiling in one direction. Avoid excessive pressure on the roller to avoid getting paint under the roller or streaking the surface. The mistake I made at the beginning was the wrong movement of the roller when applying the paint. I rolled the roller in different directions, which led to uneven coverage and visible streaks on the surface. To avoid this mistake, it is important to move the roller in one direction and try not to apply too much paint to the surface at one time.
- Work on small areas at a time so that the paint doesn’t dry out before you finish painting the entire surface.
- After the first coat of paint, allow it to dry according to the manufacturer’s recommendations, then apply a second coat to achieve a richer color and even coverage.

3. completion:
- After finishing painting, carefully inspect the surface to make sure that there are no missing areas or irregularities.
- If defects are found, correct them by performing additional sanding and applying another coat of paint.
- When the paint is completely dry, remove the protective film or paper from the floor and furniture and replace the sockets and switches.
In conclusion
Painting the walls and ceiling yourself is a creative and satisfying process that allows you to breathe new life into your home. In the course of this work, I learned a lot of useful tips and made some mistakes, but in the end I achieved a high-quality result.
The right choice of materials, surface preparation, and paint application techniques are all factors that influence the final result. Brushes, rollers, paint and related accessories should be selected based on the type of surface and coating requirements.
Do not forget to carefully prepare the surface before painting. Removing wallpaper, putting putty, and sanding rough edges will help create a smooth paint base. Protect the surrounding surfaces so that the paint does not get into unwanted areas.
It is important to adhere to the correct paint application technique. Start with small areas and start painting large surfaces. Control the amount of paint applied and ensure even coverage.
Making mistakes in the process of self-coloring is also part of the educational process. Teach the lessons of mistakes and use them to improve your skills.
I hope this article helped you gain the necessary knowledge and inspiration for self-painting walls and ceilings. Good luck with your renovation project!